Table of Contents
Signature templates
Signature templates allow you to predefine the positions for the signatures that will be placed in a document, and can be used in two ways:
- When Sharing a Document by email to require signatures;
- To define the positions for the signatures received in a Workflow.
Creating a signature template to share a document by email can be done:
- When setting up the sharing process through the advanced share settings, in which case the template will be based on the document that is being shared;
- Through the Signature templates option in the left menu, in which case the template will be based on the document template used to create the document.
Defining the positions for the signatures in a Workflow can be done by editing the workflow. The positions for the signatures will be defined based on a document template of your DocQ environment. In this case, the signature template will not be listed in the Signature Templates section in DocQ, since it will be attached exclusively to that workflow.
Creating a signature template for document sharing
To create a signature template based on a document template, access the Signature Templates option in the left menu. A list of the signature templates in your DocQ environment will be displayed. Click the  button.
In the Template properties section, choose a name and enter it in the Signature Template Name field.
Then, choose a document template from the drop-down list to preview and browse it to define the positions for the signatures.
Note: Signature templates are only supported for .pdf document templates.
The Content Access drop-down list allows you to restrict the access to this template to the selected Content Access Permission Group.
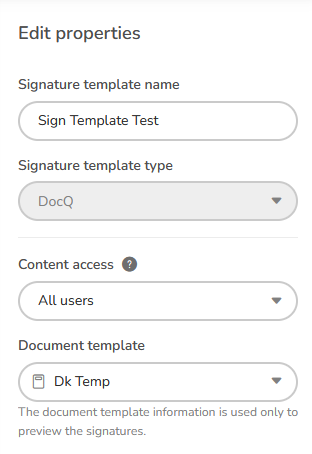
Now just hit  , and the Signature Template will be created.
Defining the positions for the signatures in a Workflow
When sharing a document for signatures, recipients can be added to different steps. The recipients of a step will only receive access to the document after it was signed by the ones from the previous step.
Once you check the box Require signature on approval the  button will show up on Workflow.
A list of the steps of the workflow will be displayed to the right of the preview. In steps that require signatures, click on the  button under each user.
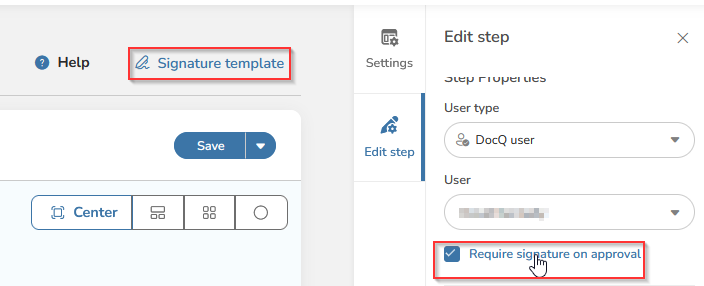
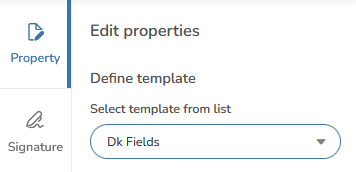
Click on  button, go to Properties and select a template signature.
Now go to the tab Signature, click on the Person step, mark Require signature on approval and choose the signature.
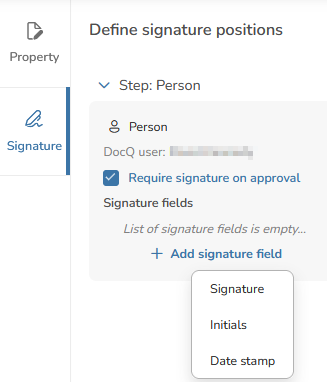
Now just click on the position you want to the signature be placed, and it's done.
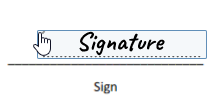
Click on the Add sign step button to add a new step, add recipients to it and leave All users must sign checked if you want all recipients to sign the document before it moves to the next step, only in case it has multiple users to sign.
Recipients can be a user from your DocQ environment or an external user and will be defined when setting up the sharing process.
An  button will be displayed under each recipient in the Signature fields list. Click on it and select the type of element that you want the user to add to the document when taking an action on it - a signature, initials, or a date stamp.
Note: You can click on the Signature button to require the same user to insert more sign places when reviewing the document.
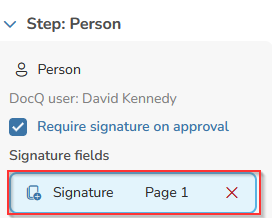
Finally, click on Save at the top of the Template properties section.
Creating a signature template when setting up a sharing process
To create a signature template while setting up a share process, visit This Page.

