Table of Contents
Document reviewing
Document reviewing in DocQ includes:
- Approving or rejecting a document;
- Inserting annotations or highlighting text in a document; and
- E-signing a document.
If you do not have an account registered in the DocQ domain to which the document belongs, move on to the external users section. Otherwise, skip to the internal users section.
Reviewing a document in DocQ as an external user
Accessing the document
When receiving an email from DocQ with access to document, you can review it by clicking on the Review and sign document button in the body of the email.
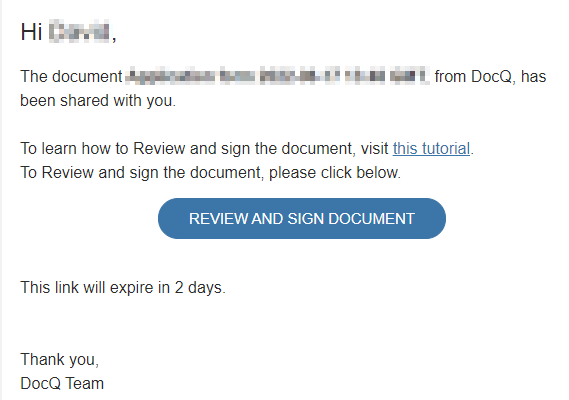
Note that your access to the document may be limited by an expiration time, which is informed below the button. If you do not take an action during this period, the document will be automatically rejected.
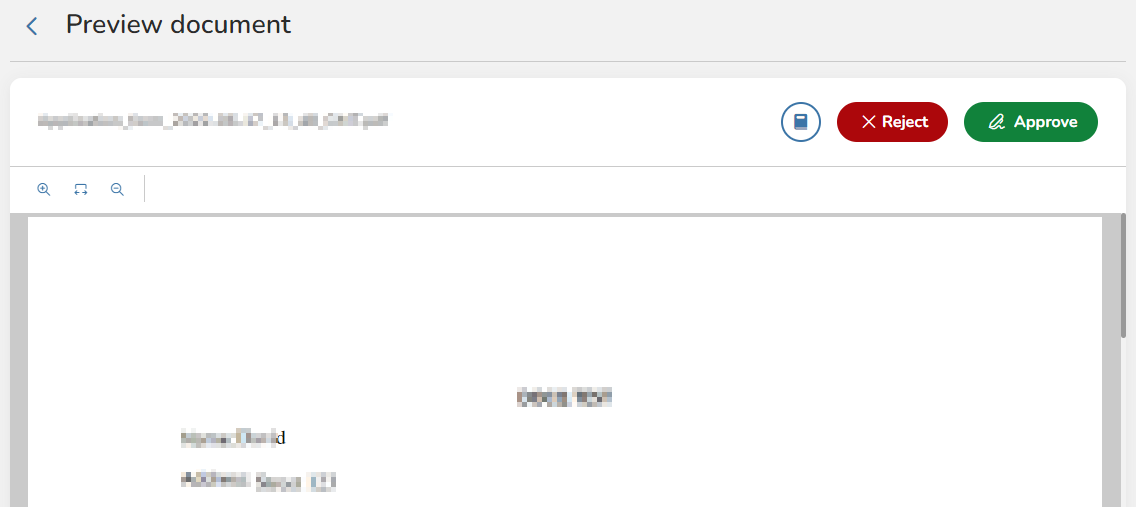
You will be redirected to DocQ and a preview of the document will be displayed.
Reviewing the document
While in the preview, you can browse the document to review it. To take an action in the document, use the buttons at the top right of the preview.
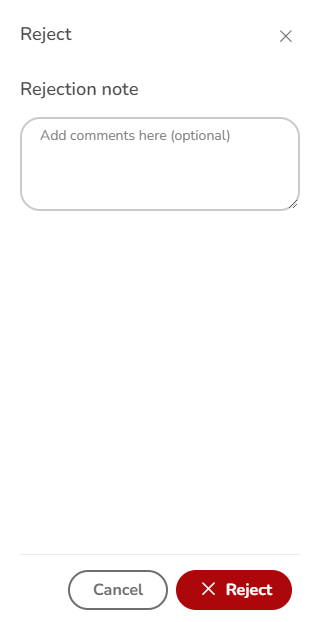
Click on the Approve button to approve the document, and on the Reject button to reject it. Both options allow you to leave an optional note before confirming your action.
If, besides your approval, an e-signature is also required, you will see an Approve and sign button, as explained in the next section.
Signing the document
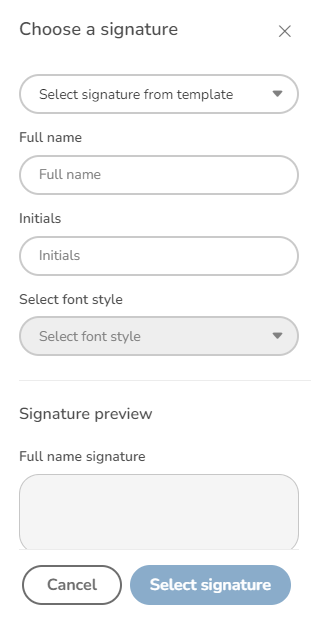
To e-sign the document, click on  button at the top of the preview. A pop-up window will be displayed for you to define your e-signature.
Defining your e-signature
There are two ways to define your e-signature - by selecting the available e-signatures (and initials) based on your name, which are automatically generated by DocQ, or by drawing an e-signature yourself.
To use a signature generated by DocQ, access the Select signature from template dropdown menu, inform your full name and initials in the fields and choose the best font style. A preview of your full name and initials e-signatures will be displayed.
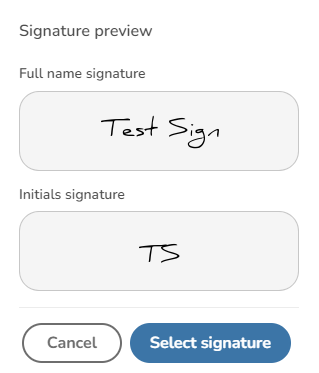
Now just click on Select signature.
After that, you should click on the signature you want to use, and place it on the document(steps 1 and 2). Now click on the date-stamp and place it on the document(steps 3 and 4).
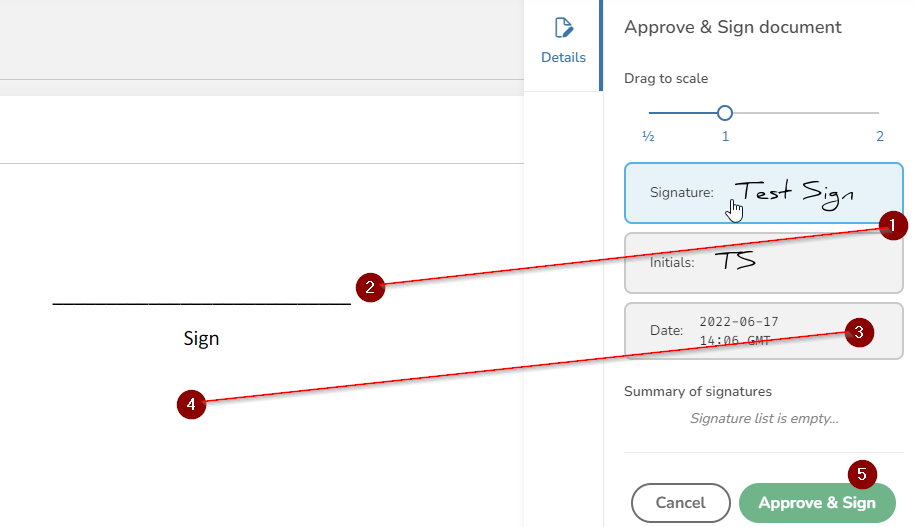
Now just click on the  button and it's done.
If you prefer drawing your own e-signature, access the Draw signature tab and draw your signature in the field using your mouse cursor or, in case you are using a touch screen device, your finger or drawing pen, and then click Done. Access the Draw initials tab to draw your initials and then click Done.
Note: This e-signature will be saved and associated to your email address and you will be able to use it again in the future.
Finally, click on Select signature and then Approve and Sign.
Signing the document
By default, users are able to browse through the document and place a signature, initials or a date stamp by selecting it from the “Your signatures” section and clicking on the desired position in the document.
Drag and drop the elements to move them to another position of the page.
Under “Summary”, a list of the elements you have placed will be displayed. Here you can remove or clone elements. To clone and element to the same position in all the other pages of the document, select the element from the preview and use the clone button.
It may also be possible that the elements required from the user and its positions are already defined. In this case, find them by browsing the document or by clicking on the items in the list under Summary. Then, click on the element in the preview to place it.
To adjust the size of the elements, use the Signature scale slider.
After inserting and adjusting all the desired (or required) elements, click on Approve and sign.
Reviewing a document in DocQ as an internal user
Accessing the document
If you have a registered account in DocQ, there are two ways to access a document that you need to review.
The first one is by email. If you have toggled the Take actions via Email switch as enabled in your profile page, you will receive an email whenever you are required to take an action on a document. The email will contain a View document button with a link for you to access the document in DocQ.
Note that you may have limited time to take any action, or the document will be automatically rejected. This expiration time may appear below the button.
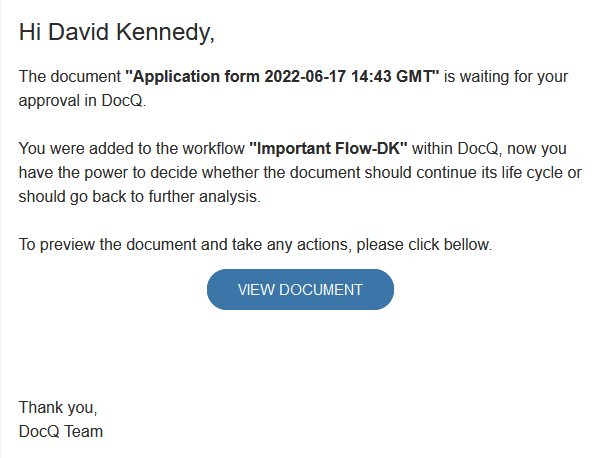
When clicking on the button, you will be redirected to DocQ and a preview of the document will be displayed.
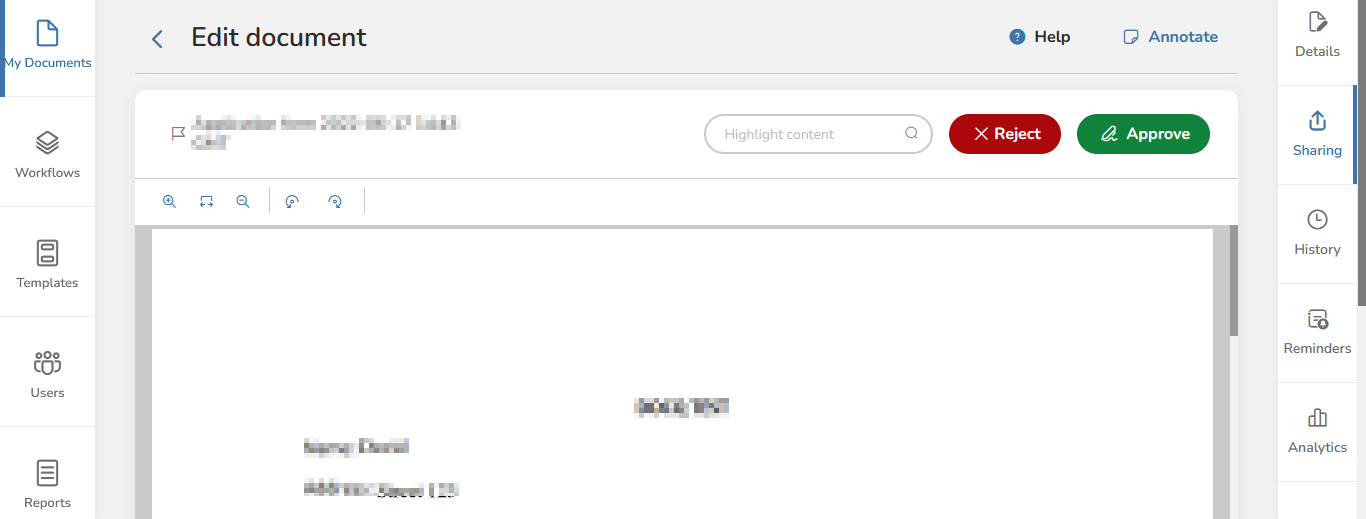
The second way to access the document is by logging in to DocQ and accessing the Documents option in the left menu. A list of the documents in your DocQ domain will be displayed. Find the document in the list and click on its name to open a preview.
It is also possible to open all documents that are in your queue by using the Action Spree button, at the top of the list. This way, you will be able to review a document and be automatically redirected to the next one after taking action. Currently, this feature supports .pdf documents only.
Reviewing the document
While in the preview, you can browse the document to review it. To take an action in the document, use the buttons at the top right of the preview.
Click on the Approve button to approve the document, and on the Reject button to reject it. Both options allow you to leave an optional note before confirming your action.
If, besides your approval, an e-signature is also required, you will see the button 
Annotating and highlighting text in PDF documents
When reviewing a document of the .pdf filetype, it is possible to insert notes using the Annotation / Highlight tool.
Note that this feature is only enabled for:
- Active documents, meaning that this is not possible for documents with the status of “Completed”, which is achieved by reaching the end of the workflow they were submitted to;
- Documents that are in the user's queue, waiting for a review, but not for a signature.
Access the document in DocQ and click on Annotate/Highlight, at the top of the preview. An annotation preview of the document will be displayed.
Here, it is possible to insert three types of annotations:
- Text annotation, which is styled as a sticky note;
- a Highlight annotation, used to highlight text from the document; and
- a Square annotation, which creates a rectangle to highlight the selected area.
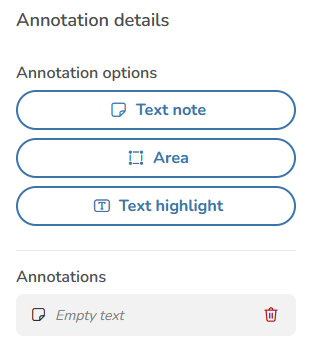
To insert a Text Note - Click on Text Note in the “Annotation Mode” frame to the right, click at the desired position in the preview, enter the content in the text field in the pop-up window and click on Save annotation. This will insert a sticky-note-style annotation in the selected position.
To insert a Area Note - Click on Square Area, select the positions for two vertices of the rectangle and click the Ok button to create it. Then, enter the content in the text field in the pop-up window and click on Save annotation. This will create a rectangle to highlight the selected area.
To insert a Text highlight - Select the text that you want to highlight from the preview and click on Text highlight. Then, enter the content in the text field in the pop-up window and click on Create Annotation. This will highlight the selected text.
To view the inserted annotations, drag your mouse cursor over the elements inserted by the annotation tool or over the highlighted text.
A list of the annotations inserted in the page currently displayed in the preview is displayed in the “Page <number>” frame to the right. To remove or edit an annotation, find it in the list and use the remove or the edit button.
After placing all the desired annotations, click on the Save Changes button to the right, then click on the Return button to return to the document reviewing preview.
Searching and highlighting content in a document
To search for specific content in the document, use the Highlight content field. Type the desired expression to highlight all occurrences of it in the document.
Note: Content highlighting with this feature has the sole purpose of helping you to identify the occurrences of that expression, and no changes will be made to the document.
Signing the document in DocQ as an internal user
To e-sign the document, click on  at the top of the preview. A signing preview of the document will be displayed.
Your current DocQ e-signature will be displayed under the “Your signatures” section, to the right. If you want to redefine it, visit this page.
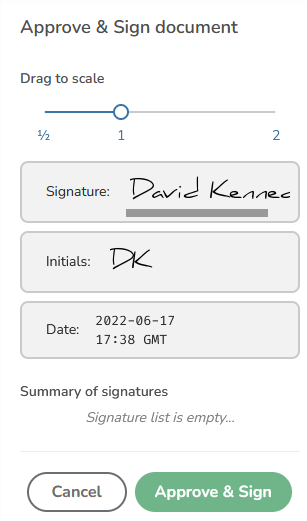
By default, users are able to browse through the document and place a signature, initials or a date stamp by selecting it from the “Your signatures” section and clicking on the desired position in the document.
Drag and drop the elements to move them to another position of the page.
Under “Summary”, a list of the elements you have placed will be displayed. Here you can remove or clone elements. To clone and element to the same position in all the other pages of the document, select the element from the preview and use the clone button.
It may also be possible that the elements required from the user and its positions are already defined. In this case, find them by browsing the document or by clicking on the items in the list under Summary. Then, click on the element in the preview to place it.
If, besides reviewing, you also manage documents in DocQ and want to know how to predefine the positions for the signatures required from other users, please visit this page.
To adjust the size of the elements you have inserted, use the Signature scale slider.
After inserting and adjusting all the desired (or required) elements, click on Approve and sign.

